People are using different forms of messaging on a global scale. From iMessanger to Snapchat to WhatsApp, there are so many ways to get in touch with your friends and family, there’s no reason to miss out. Due to the ease of connectivity, your potential clients are going to expect to be able to not only talk to their friends, family and coworkers but also with their favorite businesses. Good thing that Facebook understands that and has built a customer chat plugin that makes it easy for businesses to have a more personable relationship with their customers.
A little hesitant or too skeptical to adapt? Think about how much the world around you has adapted to messaging over calling or emailing. The ease of use of a message and the one-on-one specialized response structure is more personable and frequent. People will doubt less and ask more! When it comes to your customers specifically, a recent survey by Nielsen showed that 53% of people say they’re more likely to shop with a business they can message directly – and that number is only going to increase overtime.
How can you get started?
First off, you’re going to need a company Facebook page. If you already have one, then great! The next step would be to head into “Settings”.
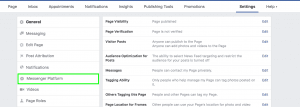
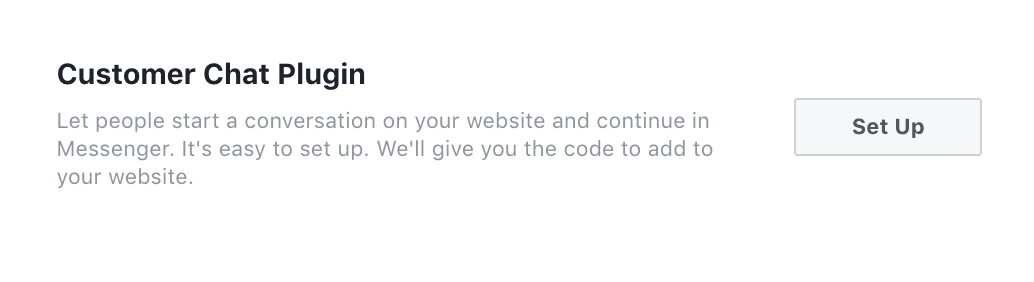
On the Messenger Platform tab scroll down until you see “Customer Chat Platform” and select “Set Up”.
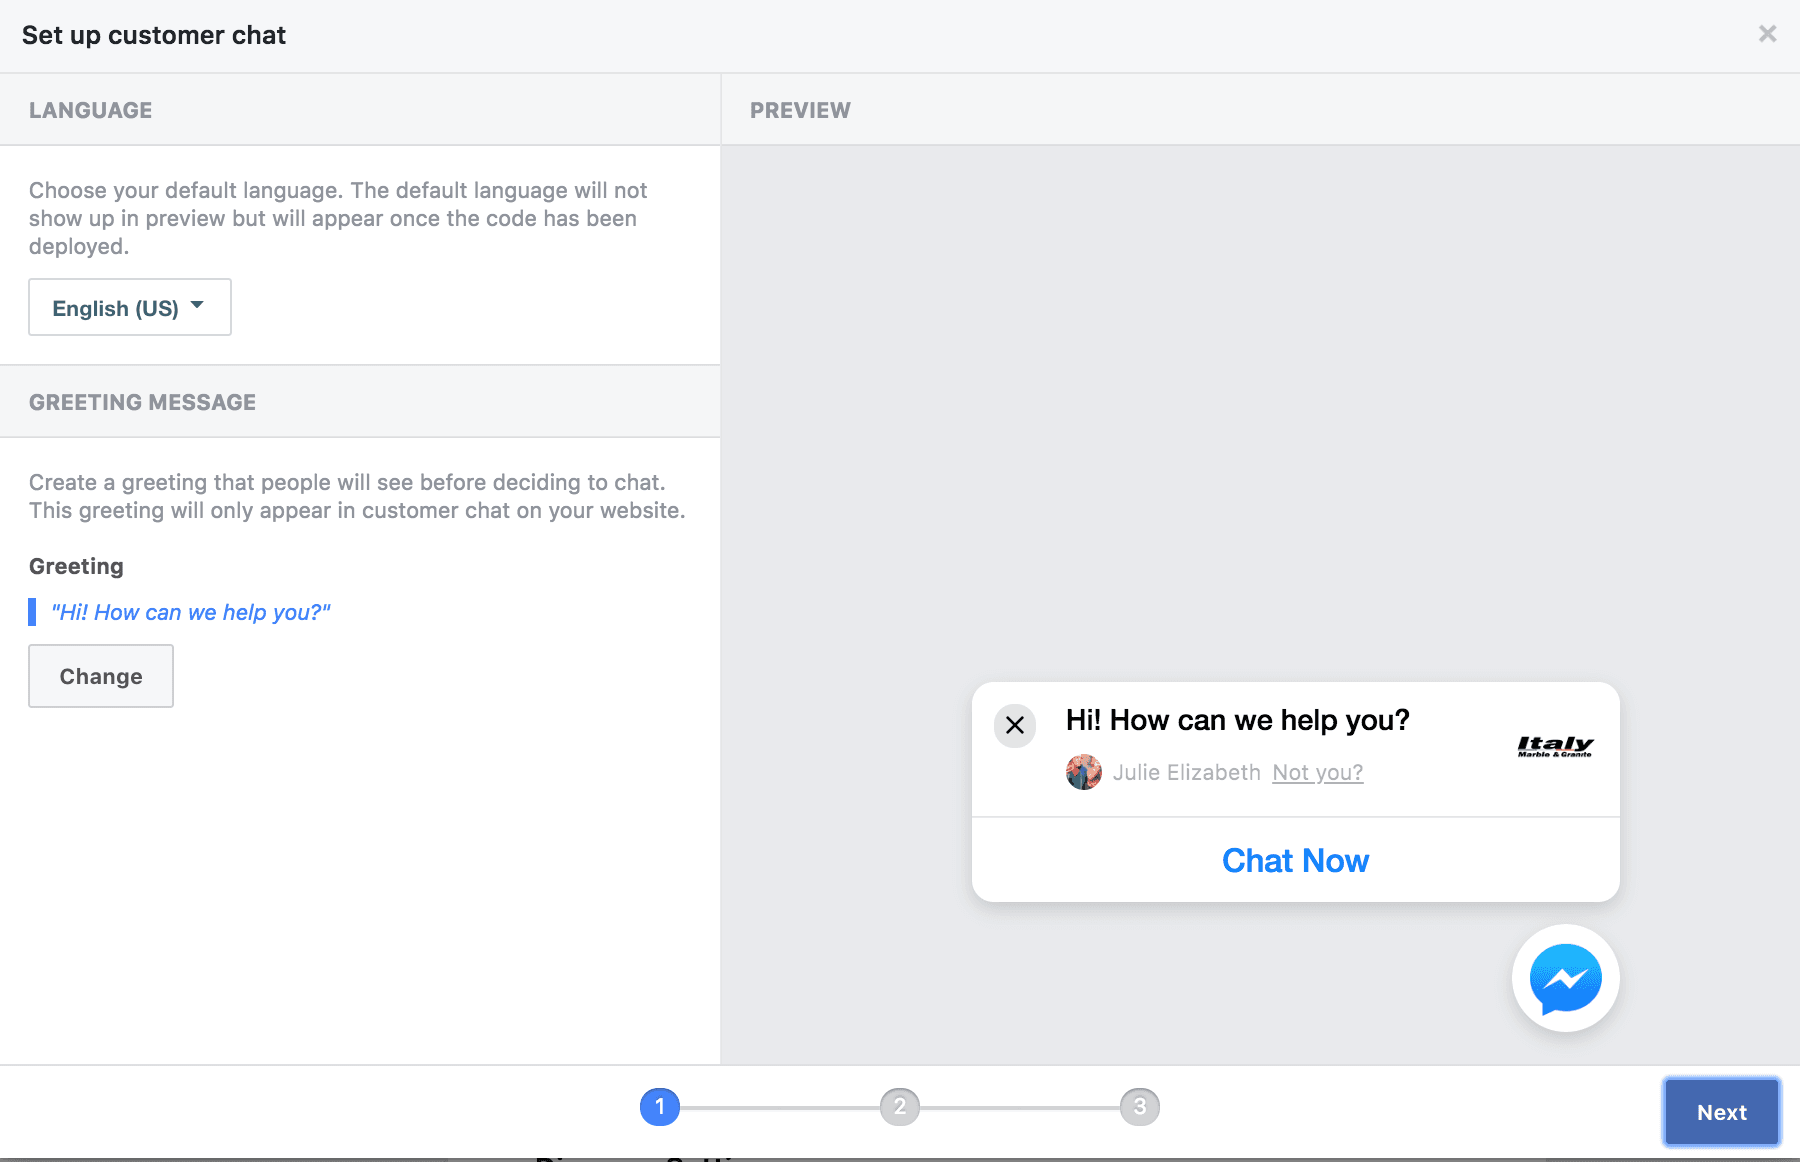
When you select “Set Up” it will lead you through three steps. First, you’ll select the default language of your messenger. Secondly, you’ll pick the “Greeting Message”. The default is “Hi! How can we help you?” but you can add any custom verbiage you’d like. On the right side, you’ll see a preview that your customers will when they visit your website.
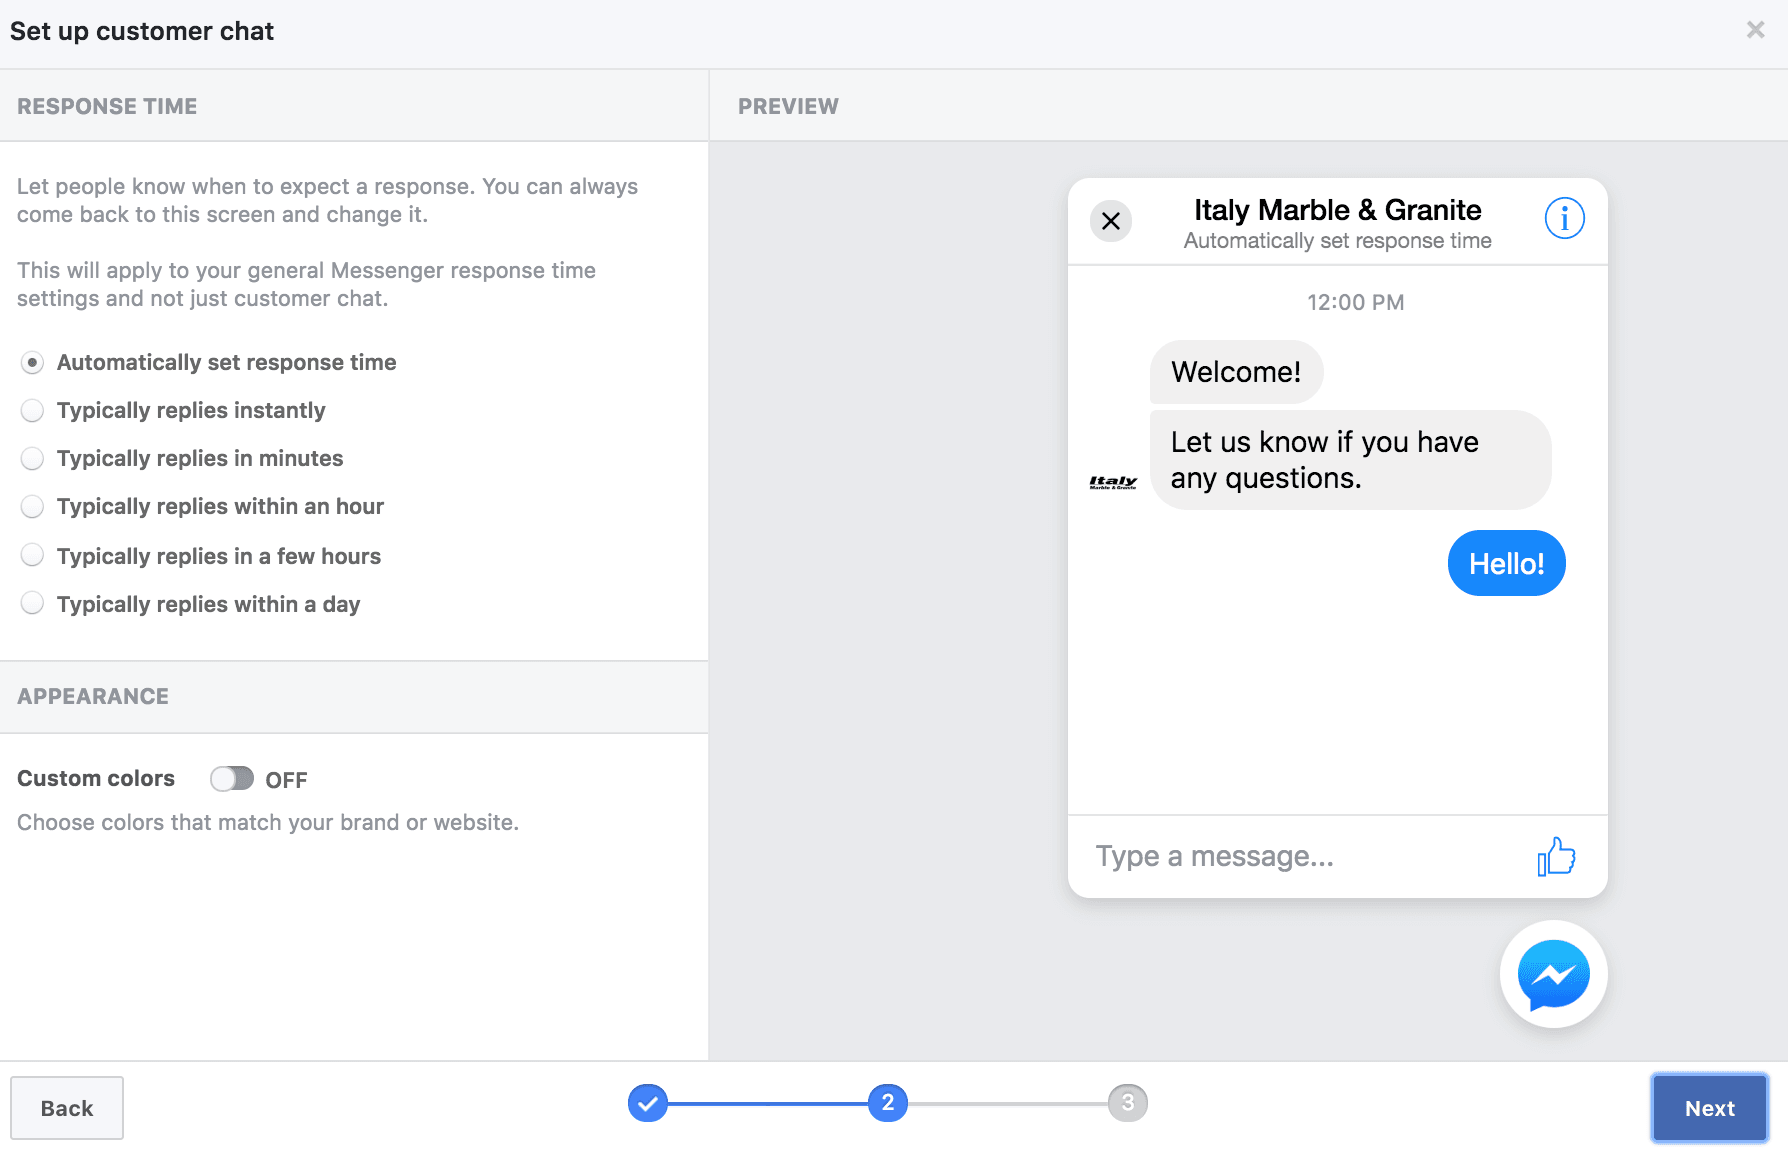
After that, you’ll let people know when to expect a response. You can always come back to this screen and change it based on how things go with the chat box on your website.
Lastly, Facebook will give you a code snippet. With that code snippet, you’ll have the option to have your developer inject it into the framework of your website, or you can install it yourself by inserting it directly after the opening <body> tag on each page where you want the plugin to appear. (We usually install it in the header.php of the website).
Now – you would think you are good to go, but there is one last step!
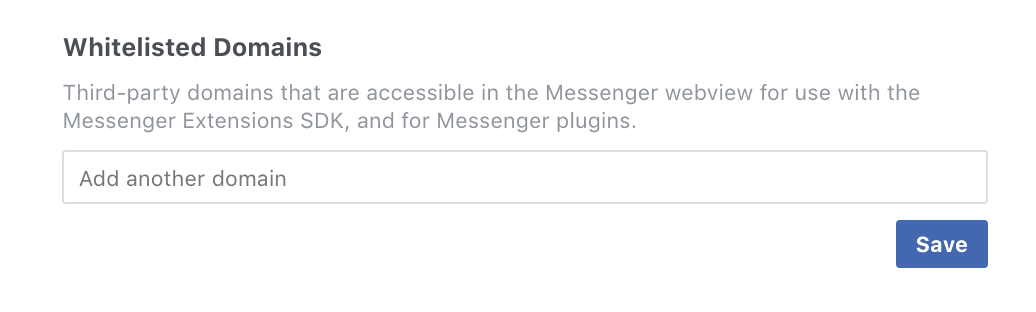
Head back to the “Messenger Platform” tab in your “Settings” and find where it says “whitelisted domains”. Put your website URL there and hit “save”, then you’re ready to chat with your customers!